
Creating a site with Zamic
Tutorial for creating a site with ZamicZamic Sites allow you to publish your Zamic pages to template based websites giving you control over the appearance along with ease of access for these pages using a customizable domain name. Zamic Sites is easy to use and a site can be made in minutes.
You can skip right to the video tutorials below or view an example of a demo site is here.
Create the site
To create a site click the Sites dropdown menu on the left hand side and then click the New Site button.

You will be taken to a blank site page where you can fill out the relevant information. At a minimum enter a title for the site and then click the Save button and then the new site is created.
By default, the site's URL will be something like https://63f2d62085d2c28127.zsite.site however this is not an easy URL to remember. To have something that is more memorable, click the Domain tab, click the Add Domain button and you'll be presented with a domain selection dialog. Enter in a desired name into the edit box, click the dropdown with what domain you would like and then click the Search button. If the domain is available, click the add button. You will now be able to access the site with a URL like https://demo.zsite.site.
If you would like to use a domain you already own, e.g. yourdomain.com, click the Or, use your own domain name link to fill out the domain details.
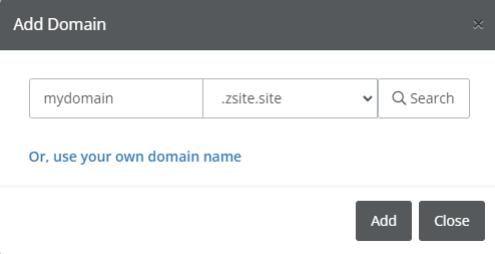
You can view the full how-to video below. Next steps are to add a page to the site and customize the site which you can view further down this page.
Video Tutorial - Create the site
Add a page to the site
Now that you have created a site, you need to add a Zamic page to it. This can either be an existing page or you can create a new page. In this example, we will create a new page.
To create a page, click on the Pages dropdown menu on the left hand side and then click New Page.

Creating the page
You will be taken to a blank page where you can fill out the relevant information for the page. At a minimum, you must enter a page title, but optionally enter in a description and some keywords or tags for the page, when done, click save.
Adding some content
To add some text to the page, the best way is to create an article widget as the widget can be moved, disabled and manipulated over just plain text. Click the widget tab, click the article widget button to add the widget, click the edit button and enter some content into the widget. Once done, click Save and close the widget editor.
Setting the permissions
Permissions need to be set so the page can be viewed publicly, by default any page you create is private. Click the Sharing tab and under Visibility, click Unlisted. Unlisted pages don't appear publicly on Zamic, but needs to be public on the site. Unlisted pages also won't be listed the Zamic directory or be visible in the data feed or user profile.
Adding the page to the site
Now that the page has been created, you need to add it to your site. To do this click the To Site button, in the Site search box enter in the name of your site, enter in a name for the site page (this is to make SEO friendly URLs or short menu names), you can now optionally add the page to the site menu and set it as the homepage. If this is your first page, you should select both of these check boxes.
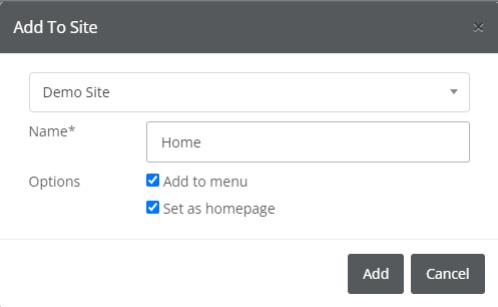
Watch the how-to video tutorial below to see how this looks in practice.
Video Tutorial - Add a page to the site
Customize the site
Now that you have created the site and added a page, you can customize the default template settings of the site. You can change things like the template, logo, header image, icon and change options like whether to show or hide certain aspects of the site like the navbar, logo, menu, header and page meta data.
Go into the site by clicking Sites and then My Sites. You will see a list of your sites, click the Edit link on the site you wish to edit.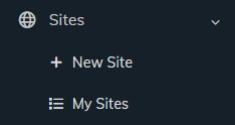

Click the Template tab, you will see a list of templates that can be selected. To optionally change the template, click the Enable button to the right of the desired template. To edit the template, click the Settings link.
Inside the template, you can add a logo, header and/or icon by clicking the browse button to the right of the item.
You can also enable/disable what is displayed to the person visiting the site by checking and unchecking the Options checkboxes. When done, click the Update button to save all of the changes and then close.
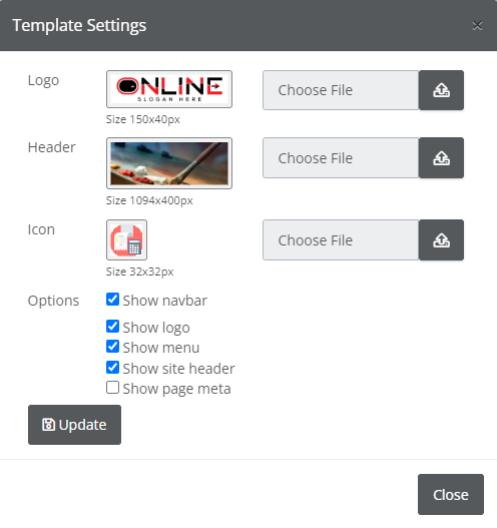
Note: The templates settings dialog (as per above) changes depending on the template selected.
You can preview the changes you have made by clicking the Preview tab or clicking the View Site button at the top of the page.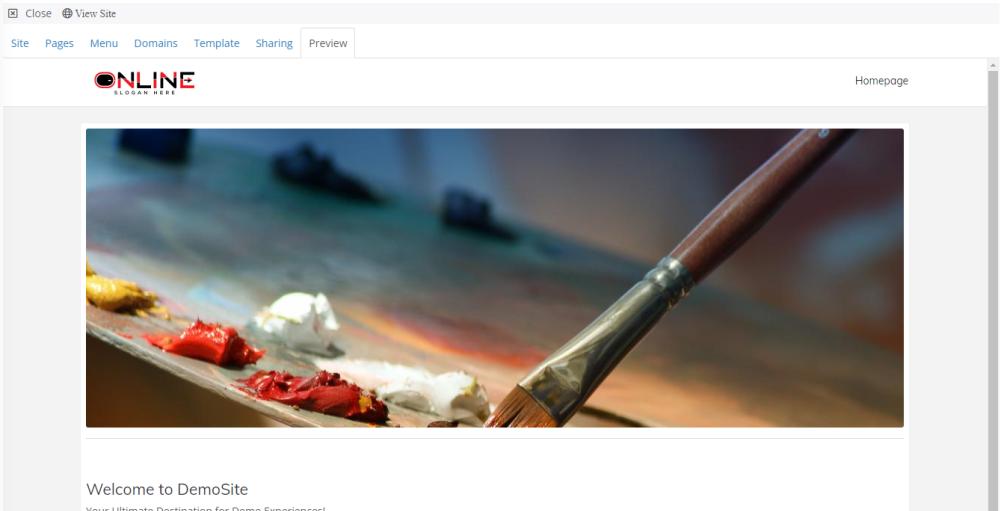
You can view a video tutorial of how to customize the site below.