
Creating a form using FormDB on Zamic
A quick tutorial on how to create a form using FormDB on ZamicWith Zamic you can easily create online forms by dragging and dropping form components onto a canvas, choose what to do with the data that the end user enters and optionally add to a site to customize the look and feel of the form.
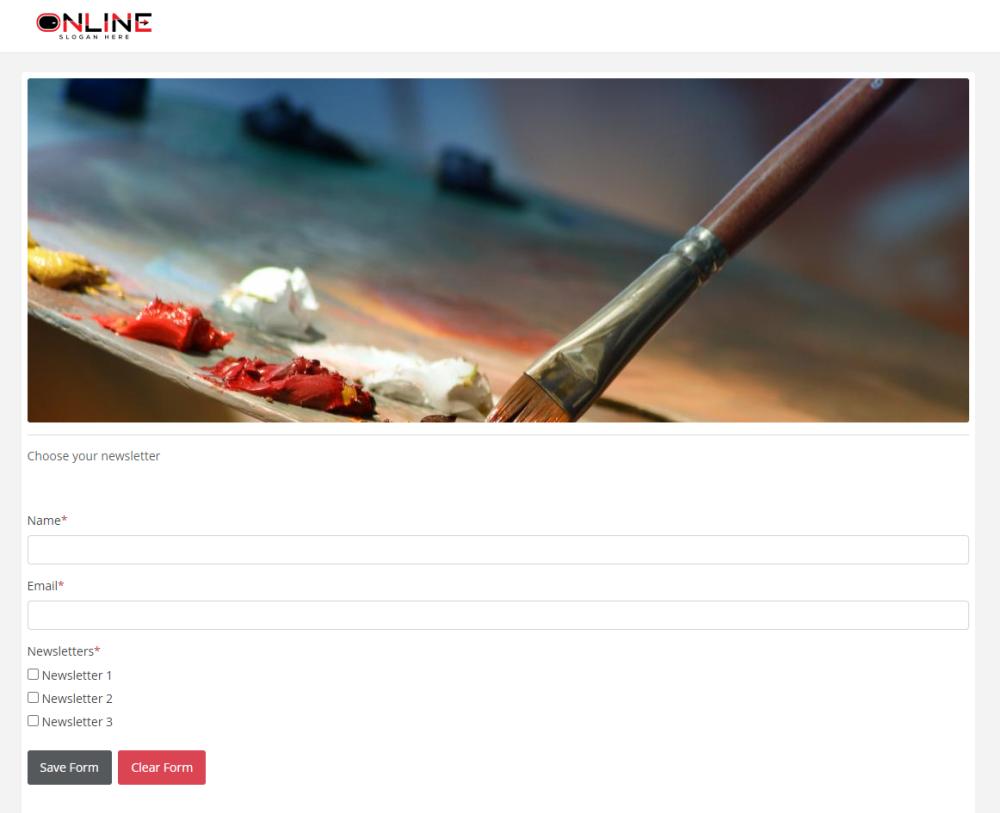
Take a look at a completed form through a customized Zamic site here.
In this tutorial you will learn how to;
- Create a new page
- Add a form widget
- Create the form with some elements
- Set the settings to email and save to the database
- View the submitted form data in the database
- Set permissions and visibility options
- Share and view the page
Video Tutorial - Create a FromDB widget
Customize the look and feel
By default, the form can be accessed by going to something like https://www.zamic.com/page/pageid. This uses the default Zamic template (either logged in or out) when a user goes to access your form.
You can customize your form by adding it to a Zamic site, a quick video tutorial is below.
You can further customize the form on your site by adding a domain name, something like https://yourform.zsite.site which is easier to remember and more customizable than using the https://siteid1234.zsite.site.